
Make Store
Expense Transaction
Expense transactions are typically created when there are expenditures to be met, such as daily operational costs or other expenses. Common examples of expense transactions include electricity bill payments, rent costs, raw material purchases, or other operational expenses. Recording these expense transactions is important for maintaining financial transparency and monitoring the store's cash outflows.
NOTE:
The iREAP POS Pro application provides a negative cash/bank option, which allows expense recording even when the cash/bank balance is negative or depleted. This feature is useful for recording urgent expenditures. By default, the system DOES NOT ALLOW transactions if the cash/bank balance is negative. If you wish to enable it, you can configure it through the web admin > administration > settings & parameters > negative cash/bank and change it to ALLOW.

Make Store
Expense Transaction
NOTE:
To find out how to add Cash / Bank Data, you can go to the following link
NOTE:
To find out how to add Expense Category Data, you can go to the following link
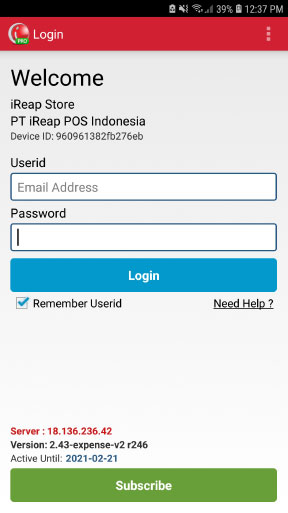
Open the iREAP Pro application on your device
Enter your User id and password
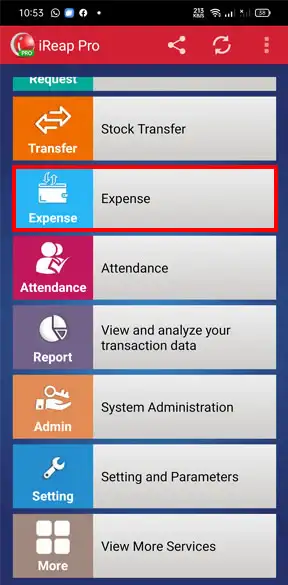
Scroll down and press the "Expense" menu
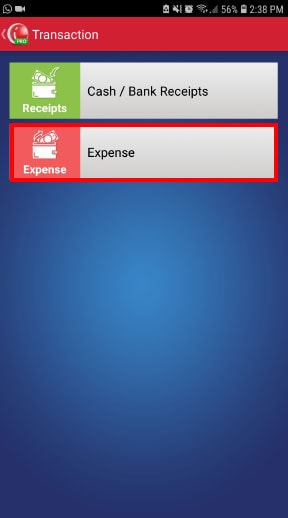
Click the "Expense" menu
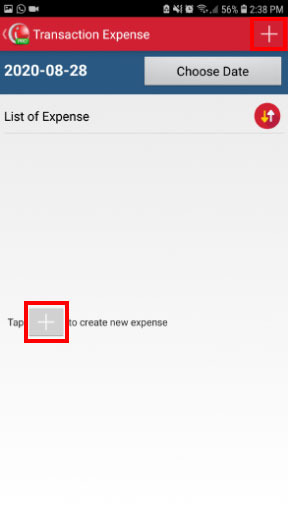
Press the plus sign (+) in the upper right corner of the screen to add a new Expense transaction, or you can press the (+) button in the middle of the screen
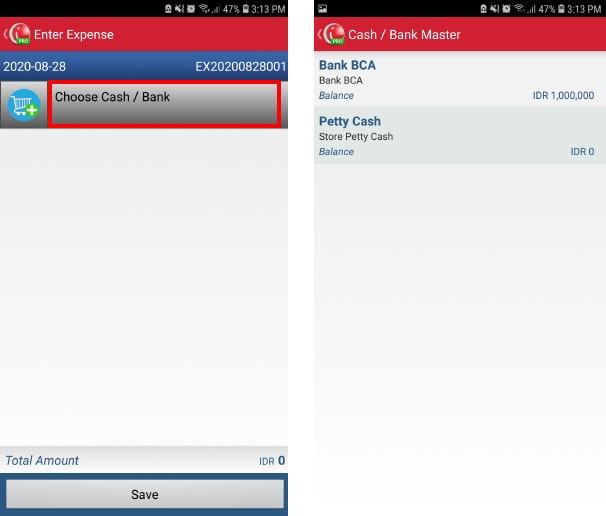
Press "Choose Cash / Bank" and select Cash / Bank that contains the balance and select according to your needs
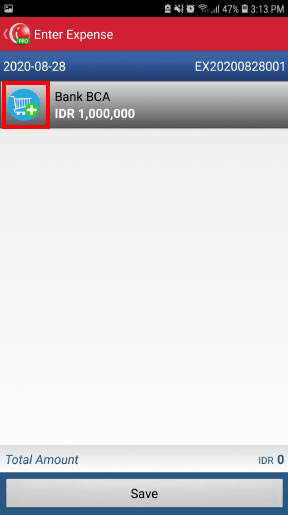
Press the cart button on the left "Choose Cash / Bank"
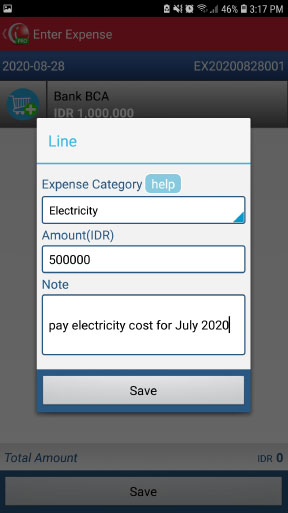
Select your "Category Expense" and enter "Amount (IDR)" according to your requirements. You can also add "Note" for additional information. Press "Save" when done
Press "Save" again and your Expense Transaction has been created
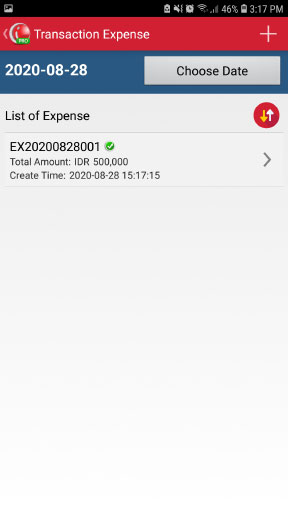
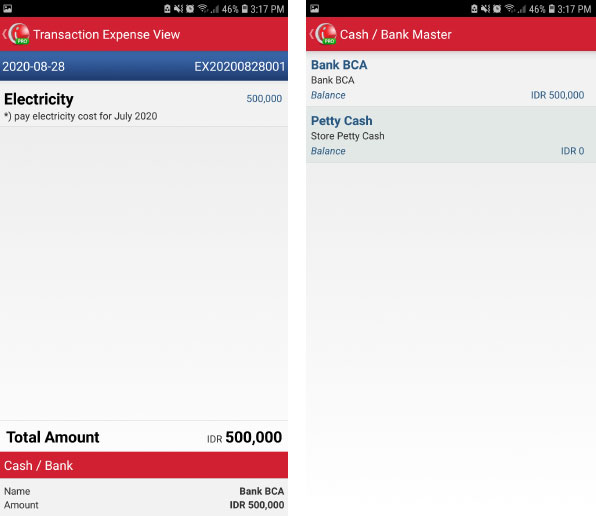
You can see the display of transactions that have been made and when you have successfully made an Expense transaction, this will automatically deduct the total value that is in the Cash / Bank used to make the Expense transaction earlier
iREAP POS : iREAP stand for Integrated Retail Application, is an application designed and developed to help you managed and run store operation, consists of Point of Sale / Cashier system and inventory control system.