

Product photos not only give consumers an idea of what kind of product you offer but also serve as a brand identity and influence the customer’s decision to buy your product or not. So, how do you make good product photos? Let’s learn together product photo techniques with HP for promotion on Instagram from this article.
Product Photo Techniques Using HP Camera
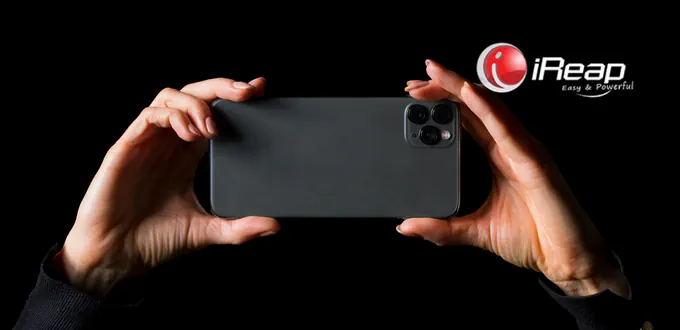
1. Product Photos Can Be Made Using HP Cameras
You don’t have to use a professional camera to take good product photos because now many cell phones have capable cameras.
Yes, just using a cellphone, you can make product photos. However, ensure the camera on your cellphone already has a large lens aperture and manual settings, and the image results must be sharp and clear.
2. Use a White Background for Indoor Product Photographs
If you take product photos indoors and specifically for small products, you can use a mini studio with a white background. This also applies to those taking product photos for the first time.
A white background will make your product more focused and clear, and consumers’ attention is only focused on your product.

3. Adjust the Shooting Location by Product Type
For the location for taking product photos, you must adjust it to the type of product and the concept you want to use. For example, the product you want to photograph is a household product.
Then do the shooting indoors. If your product is a sunscreen product, you can choose a beach location or a city crowd to evoke emotion from the photo.
4. Paying attention to the angle of shooting
Product photos generally use an angle or shooting angle, such as:
- Eye level: position the camera lens parallel to the object.
- Low angle: product photos are taken from a lower angle than the object to give the impression of luxury and majesty.
- High angle: the product photo is taken from above so that it creates a dramatic impression, and the effect on the product is that the product size is smaller/shorter.
- Flat lay: the product is placed on a flat surface, and the shooting angle is usually perpendicular to the camera lens position at 90 degrees above the object.
For example, you should use a flat lay angle for food products served on plates or bowls. Meanwhile, clothing products are more suitable for using the eye level or standard technique, in line with the eyes.
5. Make Sure The Lighting Is Sufficient And As Needed
When shooting product photos, lighting is the key to getting good product photos. For lighting, you can take advantage of natural lighting from sunlight or use additional lighting.
Adequate lighting will make the photos clear and not blur the colors or product details.

6. Use a Tripod
When holding the cellphone to take photos, sometimes the hands vibrate or shake, so the images are not good. For that, you can use the help of a tripod so that your product photos are consistent, not shaky, and not blurry.
7. Edit for Better Product Photos
To improve the results of your product photos, do some editing. There are many editing applications that you can use on your cellphone.
But remember, when editing, don’t overdo it so that the colors and product details remain clear and don’t differ much from the original color. In addition, you can add a watermark to your product so that consumers know that you make the photo.
Establishing 7 product photo techniques with HP above can be an easy and inexpensive way to prepare promotional content on Instagram. The results of good product photos can entice consumers to find out more and even encourage them to make a product purchase. The product photos you upload on Instagram also apply the Practical and Selling Way of Promotion on Instagram.

