
How to make QRIS? For those of you who want to know how to make a QRIS, register for QRIS first and ensure the payment application you use is integrated with QRIS. In this article, you can learn how to create a QRIS and add a QRIS payment method to the iReap POS Pro cashier application. Come on, continue reading.
iReap POS Pro Cashier Application Supports QRIS Payment Method with Automatic Notifications
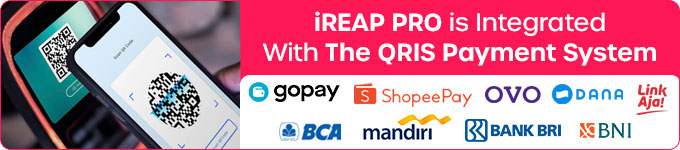
Quick Response Code Indonesian Standard or QRIS is a payment standardization using a QR code from Bank Indonesia to integrate all non-cash payment methods.

Non-cash payments referred to here, namely:
- e-wallets like GoPay, OVO, DANA, ShopeePay, LinkAja, and other digital wallets.
- Mobile Banking: BCA, BCA Digital, Livin by Mandiri, etc.
- Other types of payments that have been incorporated into QRIS (national QR).
By using QRIS, you can provide payment methods that are faster, easier, and safer, according to consumer preferences and needs. In addition, QRIS, which has been integrated with the iReap POS Pro cashier application, will make monitoring all sales transactions easier...
After deducting transaction fees, this application has also been reconciled so you can immediately know how much money you received from the QRIS service provider. This means you don’t have to bother doing manual calculations for reconciliation, avoid miscalculations, and teamwork becomes faster and more productive.
Currently, iReap POS Pro is working with Espay, namely the Payment Gateway, to make you accept payments using the QRIS method, directly integrated with iReap POS Pro.
There is already an automatic notification when you receive a payment from a consumer. With automatic notifications that prove payment has been received correctly, you can avoid QRIS fraud.
How to Make QRIS in the iReap POS Pro Cashier Application
To be able to use QRIS, you must first register. To make the process more concise, it’s better to use the iReap POS cashier application; later, the QRIS registration process will be assisted by the iReap POS team. After that, follow these steps:
- Open a browser and go to www.ireappos.com.
- Log in to your iReap administrator account using the registered email and password. You can also login from pro.ireappos.com/login.
- After successfully logging in, select the menu: Administration > then click Payment Methods
- Enter the name and description of the payment method
- Select Payment Method Type: QRIS
- Enter the Espay Merchant Code, Espay Password, and Signature, which you got earlier (found in the email once the QRIS registration process is complete)
Well, it’s easy. How to make a QRIS that has been integrated with the iReap POS Pro application? For more complete instructions and pictures for each step, read the Guide to Making QRIS and Making QRIS Payments.